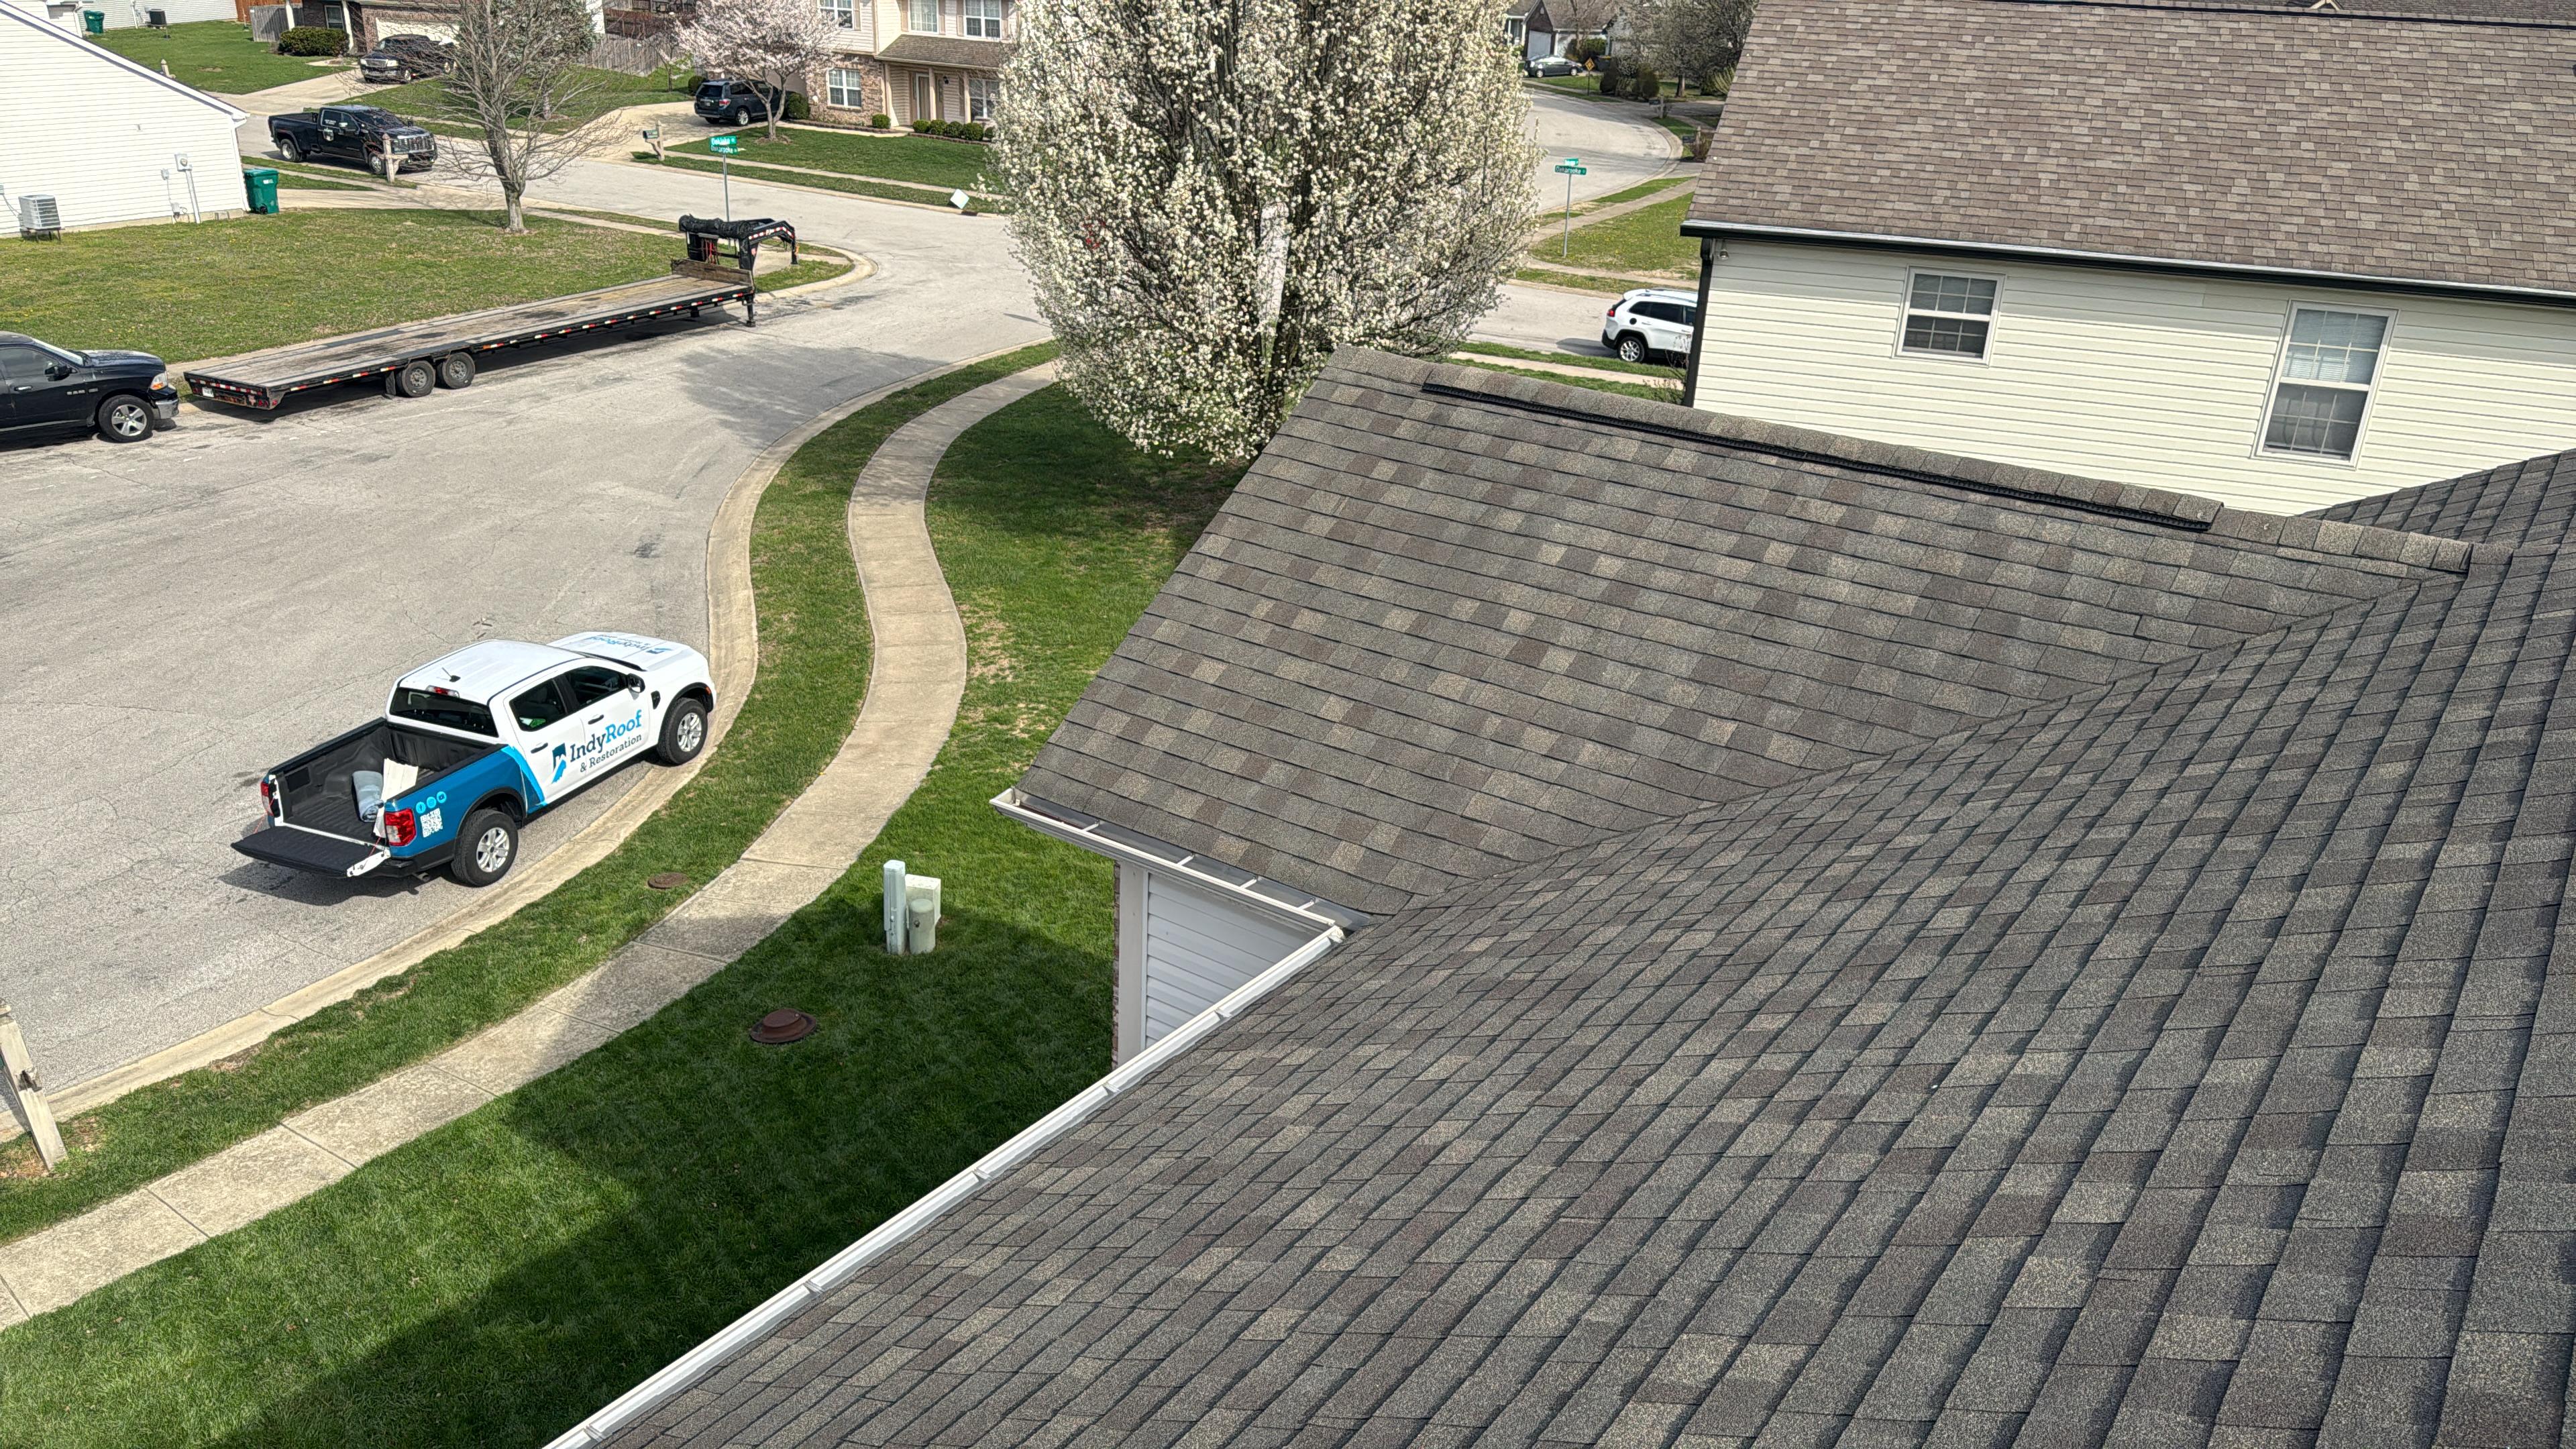
The 7 step Ice Dam Prevention Checklist
Work through these in order. The first three do the heavy lifting.
- Seal attic air leaks before adding insulation.
- Verify attic insulation depth is R-49 or better.
- Confirm balanced intake and exhaust ventilation.
- Clean gutters and downspouts completely.
- Install or inspect heat cable on trouble spots only.
- Remove snow safely after storms over 6 inches.
- Schedule a pre winter roof inspection.
1. Seal Attic Air Leaks
Warm indoor air leaking into the attic is the number one cause of ice dams. Insulation alone will not fix it.
- Bath fan vents terminating inside the attic (they must exit the roof or soffit)
- Recessed lights that are not IC-rated and air sealed
- Attic hatch with no gasket or weatherstripping
- Plumbing stacks and chimney chases with open gaps
- Top plates of interior walls, especially around closets
- Dropped soffits above kitchen cabinets and tub surrounds
- Wiring and HVAC penetrations through the top plate
Use fire rated foam or caulk. Plan on a Saturday with a headlamp and knee pads.
A cheap way to find leaks: go up on a cold morning after the heat has been running. Any spot where frost is missing from the insulation is a warm air path. Mark it with a piece of tape and come back with a caulk gun.
2. Check Insulation Depth
Woodshire code calls for R-49 in the attic. Most Woodshire homes built before 2010 fall short.
- R-49 equals roughly 14 inches of blown fiberglass
- R-49 equals roughly 13 inches of blown cellulose
- Do not block soffit vents with batts or loose fill
- Install baffles at every rafter bay before adding insulation
- Insulate the attic hatch itself with 4 inches of rigid foam
- Measure in three or four spots, not just near the hatch
- Watch for compressed batts under stored boxes (compressed R-19 performs closer to R-11)
If you are topping off existing insulation, you do not need to match material. Blown cellulose over old fiberglass batts is fine and often cheaper per R-value.
3. Balance Your Ventilation
Cold attic air is what keeps the roof deck the same temperature as the outdoor air. That is the whole point.
- Aim for 1 square foot of net free vent area per 300 square feet of attic floor
- Split roughly 50/50 between soffit intake and ridge exhaust
- Do not mix ridge vents with powered attic fans (they fight each other)
- Gable vents alone rarely move enough air in a modern home
- If you have cathedral ceilings, every rafter bay needs its own path
- Check that soffit vents are actually open, not painted shut from a recent exterior job
If you are not sure what you have, a quick attic walkthrough during our free roof inspections will tell you in about 15 minutes.
Gutter and Drainage Prep
Clogged gutters do not cause ice dams directly, but they make every symptom worse. Meltwater needs somewhere to go.
- Clear leaves, seed pods, and grit from every run
- Flush downspouts with a hose until water runs clean
- Check that extensions carry water at least 4 feet from the foundation
- Re pitch any gutter section holding standing water
- Tighten loose hangers (ice load can rip a gutter clean off a fascia)
- Inspect the drip edge for gaps where water can wick behind the fascia
- Consider gutter guards only if they allow snow to slide past freely
Quick Budget Reference
Rough Woodshire ranges so you can plan:
- Attic air sealing: $400 to $1,200 depending on size
- Adding insulation to R-49: $1,200 to $2,800
- Adding or correcting ridge and soffit vents: $600 to $1,800
- Professional gutter cleaning: $150 to $350
- Heat cable on two valleys and an eave run: $500 to $1,500 installed
- Pre winter roof inspection: often free, up to $250 for a detailed report
Compare that to a single ice dam leak, which often runs $3,000 to $8,000 in drywall, insulation, and roof repairs combined. Prevention pays for itself on the first bad winter.
Warning Signs You Already Have a Problem
Walk your home after the next snowfall. Watch for these within the first 48 hours.
- Icicles larger than a pencil hanging from the gutters
- Snow melted in stripes that follow rafter lines (a ventilation tell)
- Snow gone entirely on the roof while neighbors still have 4 inches
- Water stains on upper floor ceilings or along exterior walls
- Peeling paint on soffits or fascia
- Damp insulation or frost on the underside of the roof deck
- A musty smell in upstairs closets that share a wall with the eave
Any two of these together means moisture is already moving where it should not be. Take photos with timestamps. If you end up filing an insurance claim later in the season, that early documentation makes a real difference in how the adjuster scopes the damage.
After the Storm: Safe Snow Removal
When Woodshire gets a heavy, wet snow followed by a cold snap, reduce the load before it can refreeze.
- Use a roof rake with a telescoping handle from the ground
- Pull snow down the slope, never sideways across shingles
- Leave the last inch or two rather than scraping granules
- Never climb an icy roof, and never use a metal shovel
- Skip rock salt and calcium chloride pucks (they damage shingles and kill landscaping below)
- Watch overhead power lines before extending a metal rake
- Focus on the bottom 3 to 4 feet of roof, not the peak
If you already see a thick ice shelf forming, stop and call. Chipping at ice with a hammer is how people put holes through decking and shingles that then need emergency roof repair in 20 degree weather.
When to Call a Pro Instead of DIY
Some of this checklist is homeowner friendly. Some of it is not.
- Call a pro if your attic access is cramped or knee wall style
- Call a pro if you see active dripping, not just staining
- Call a pro if shingles are lifting at the eave or look glazed with ice
- Call a pro if the roof is over 15 years old and showing granule loss
- Call a pro if you have had the same leak in the same spot two winters running
- Call a pro if you smell gas or see scorching near any attic penetration
That last one matters. Repeat leaks usually mean the underlayment at the eave has failed, and a patch will not hold. If your roof is approaching end of life anyway, it may be time to review the signs your roof needs replacement before you spend money on winter band aids. Woodshire Roofing can walk the attic and the roof edge in the same visit and give you a straight answer on whether prevention or replacement is the smarter spend.
Heat Cable: Use It Sparingly
Heat cable is a band aid, not a cure. It belongs on specific problem areas, not across an entire roof.
- Good candidates: north facing valleys, low slope additions, shaded dormers
- Bad candidates: the whole eave of a properly vented roof
- Use self regulating cable rated for roof use, not pipe cable
- Plug into a GFCI outlet with a snow and ice controller
- Replace every 3 to 5 years, sooner if the jacket cracks
- Run a parallel loop inside the gutter and downspout, not just on the shingles
- Never staple through the cable jacket (use manufacturer clips only)